


For Solo Practitioner, non-commercial projects only, and project hobby
About
Stop Losing Hours to Paperwork: Reclaim Your Clinical Time.
Story: You became a clinician to help people, not wrestle with disorganized files and duplicated entries. The average clinic staff spends up to 2 hours daily on non-patient-facing administrative tasks. The Clinical Workflow Hub is a focused, easy-to-use digital system designed by clinicians for clinicians.
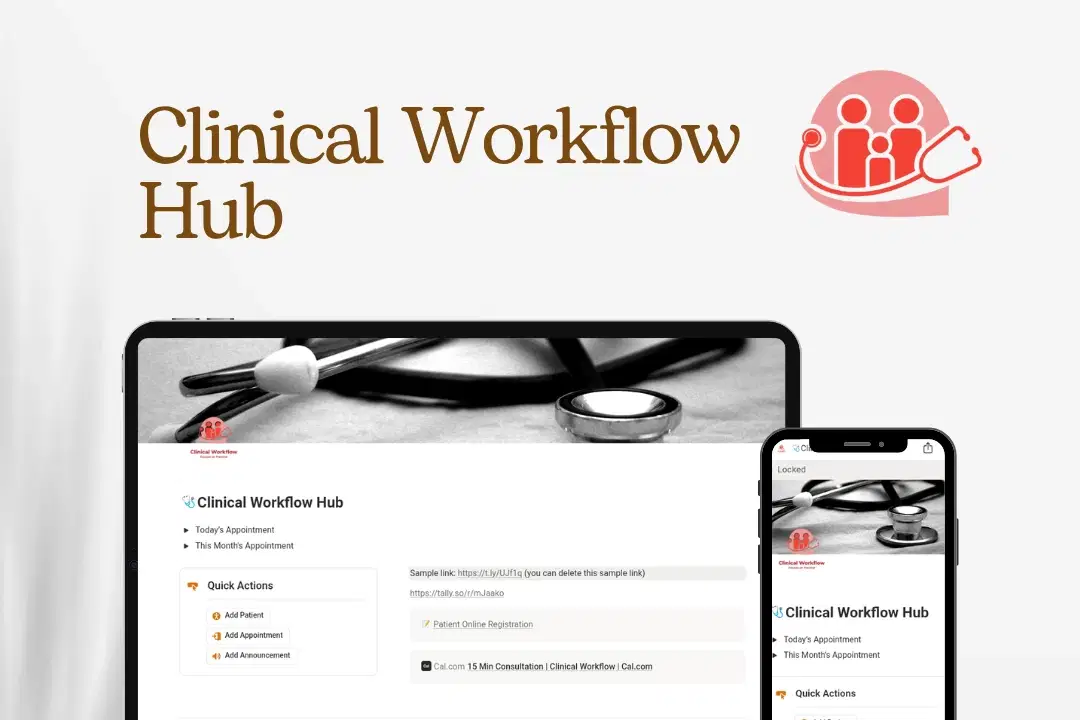
Preview Template (Discover your workspace)
It instantly digitizes protocols, centralizes patient intake, and automates tracking, effectively giving your team back those crucial hours. Focus on healing; we'll handle the hassle.
Understanding the Clinical Workflow Hub: From Appointment to Payment
Introduction: What is the Clinical Workflow Hub?
Welcome to this guide on the Clinical Workflow Hub. This system is the digital backbone of a modern medical clinic, designed to manage the entire patient journey from the moment an appointment is scheduled until the final payment is processed. By centralizing this information, the hub not only streamlines operations but also ensures a seamless and transparent experience for every patient. This guide will break down how the system works into simple, easy-to-understand steps, assuming you have no prior background in medical administration.
The System's Core Components: The Four Key Databases
The entire system is built on four interconnected databases that work together to keep the clinic running smoothly. The easiest way to think of these is as four interconnected digital filing cabinets, each holding a specific type of information that can be linked to the others.
Database | Its Simple Purpose |
|---|---|
Appointment | Tracks all patient appointments, including their date, time, and status (e.g., Scheduled, Completed). |
Patients | Stores essential patient demographic data, contact details, and medical history. |
Invoicing | Manages all bills, tracking services, costs, and whether they have been paid. |
Announcement | Used to broadcast important clinic-wide updates, like holiday closures, to all patients. |
These databases form the foundation of the workflow. Now, let's see how they are used during a typical patient's journey through the clinic.
A Patient's Journey: A Step-by-Step Walkthrough
We will now follow the path a patient takes through the clinic's system, from the initial booking all the way to billing and payment.
3.1. Step 1: Making an Appointment
A patient can schedule a visit in one of two primary ways:
Online Registration: This is the main method for patients to register. They can use a dedicated link to choose their preferred doctor and select an available appointment time that fits their schedule.
Quick Consultation Calendar: For more immediate needs, the system offers an optional feature for scheduling a fast, 15-minute consultation directly on the clinic's calendar.
3.2. Step 2: The Clinic Visit & How Information is Captured
Once a patient arrives, the system becomes the central hub for recording all important medical details from the visit. The most crucial pieces of information captured are:
Chief Complaint This is the patient's own description of their reason for the visit (e.g., "Sore throat and pain when swallowing for 3 days."). Capturing this in the patient's own words ensures the clinical record is accurate from the very start.
Diagnosis This is the doctor's professional conclusion after examining the patient (e.g., "Primary: Acute Pharyngitis"). This becomes the official record used for billing and determining the course of care.
Treatment Plan These are the clear, actionable steps for the patient's care. It outlines prescribed medications, recommended therapies, and follow-up instructions (e.g., "1. Rapid strep test ordered. 2. If positive: Amoxicillin...").
Appointment Status This field tracks the visit's progress. To move to the next step in the workflow, the doctor must mark the appointment status as "Completed".
3.3. Step 3: Generating an Invoice and Handling Payment
The final step in the workflow is billing, which is triggered by the doctor's action in the previous step. Once an appointment's status is changed to "Completed," an invoice can be generated directly from that appointment record. This invoice contains all the necessary details for billing and payment.
A typical invoice includes key information such as:
Invoice-ID (a unique billing number)
Amount (the total cost of the visit)
Diagnosis (the medical reason for the services)
Payment Status (shows whether the bill has been settled)
The system tracks two primary payment statuses for completed visits: "Paid" for direct payments and "Insurance Claim" when the bill is sent to an insurance provider.
To see how this all works in practice, let's follow a single patient through this three-step process.
Tying It All Together: The Case of Patrick Troughton
This example follows a patient named Patrick Troughton through the entire workflow, using data captured by the system.
The Appointment On December 3, 2025, Patrick Troughton scheduled an Emergency appointment. His Chief Complaint was: "Sharp pain in my lower back started 2 days ago after lifting a box."
The Doctor's Assessment After the examination, Dr. Smith recorded the Diagnosis as "Acute Mechanical Low Back Pain (lumbar strain). No evidence of radiculopathy or cauda equina syndrome." The doctor then created a four-point Treatment Plan:
Prescribe Ibuprofen 600mg TID PRN pain.
Recommend heat/ice therapy.
Strict bed rest for 1-2 days, then light activity as tolerated.
Return to clinic in 1 week if no improvement; refer to Physical Therapy if pain persists.
The Final Invoice Because Dr. Smith marked the appointment status as "Completed," the system was able to generate Invoice-2252 for the amount of $400.00. The record shows that this invoice's status is "Paid", concluding his journey through the system.
Now that we've seen how the system handles an individual patient, let's look at some broader features for managing the clinic.
More Than Just Appointments: Other Key System Features
The system also includes tools to help clinic staff manage schedules and communicate with the entire patient population.
5.1. The Doctor's Dashboard
The dashboard provides doctors with a clear overview of their appointments, offering three main calendar views to help them manage their time effectively:
Today's schedule
The upcoming week's schedule
The entire current month's schedule
5.2. Keeping Patients Informed
The Announcement database is a simple but powerful communication tool the clinic uses to keep everyone in the loop. It allows the clinic to create and share important updates with all patients. For example, if the clinic needs to close unexpectedly, an "Emergency Notice" can be posted to inform patients, as seen in the "Sudden holiday" announcement example.
Conclusion: A Seamless Flow of Information
The Clinical Workflow Hub is designed to create an organized, efficient, and repeatable process for patient care. It seamlessly tracks all critical information from the moment a patient books an appointment until their final bill is paid, ensuring clarity for both patients and clinic staff.

Shop confidently with Shuppi
If your download isn’t what was promised, we’ll make it right. Eligible purchases can be refunded within fourteen calendar days when listings mislead, files fail, or duplicate checkouts happen.
- Listings must match what you receive—no surprises.
- Corrupted files or technical issues? Request a quick fix or refund.
- Duplicate purchases are covered without the hassle.